Activate Your Website on Zoneit
How to Activate Your Website on Zoneit After Purchasing a Plan
Follow these steps to activate your website on Zoneit:
-
Log in to your account on the Zoneit user panel.
-
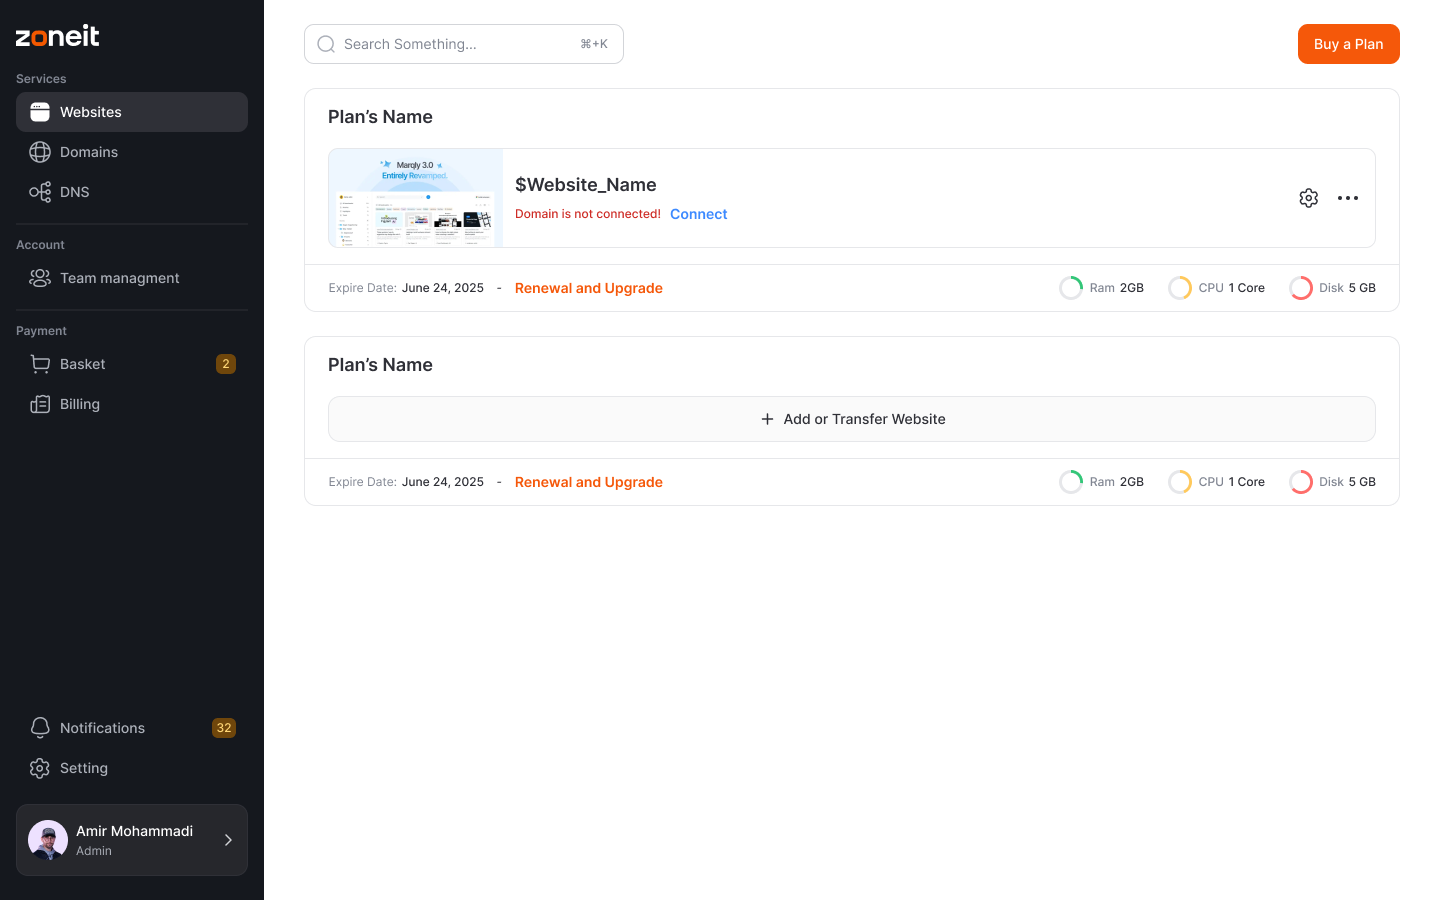
Choose the plan you have purchased.
-
Click on the option "Add or Transfer Website".
-
At this stage, you can Choose create new website or migration to zoneit.
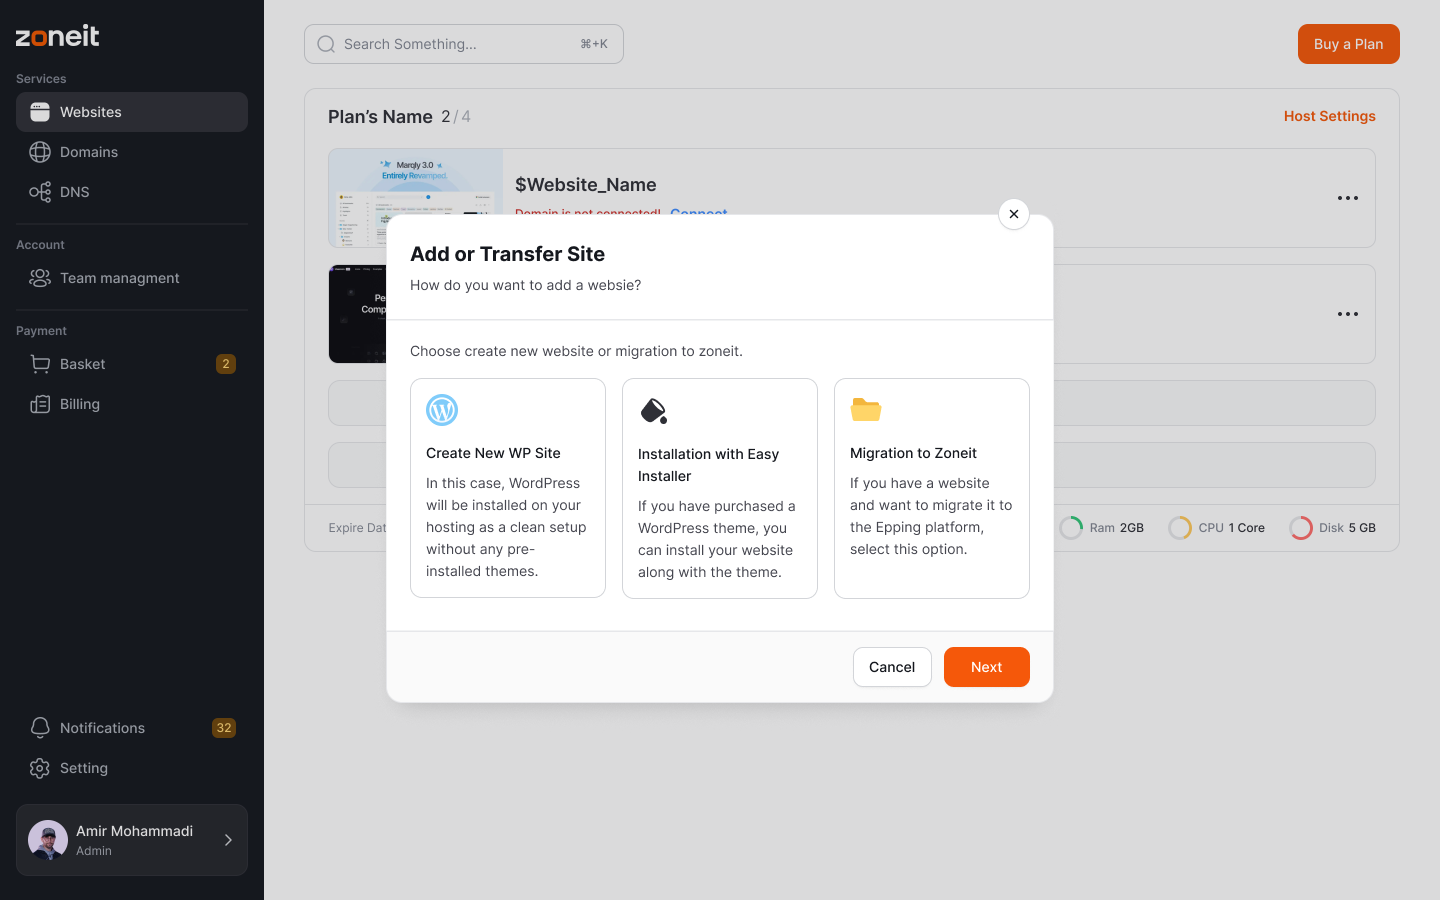
- If you choose "Create New WP Site", you can activate WordPress on your site. WordPress will be automatically installed on your hosting.
- If you have a website and want to migrate it to the Epping platform, select this option, you should choose "Migration to Zoneit".
- If you have purchased a WordPress theme, you can install your website along with the theme, you should choose "Installation with Easy Installer".
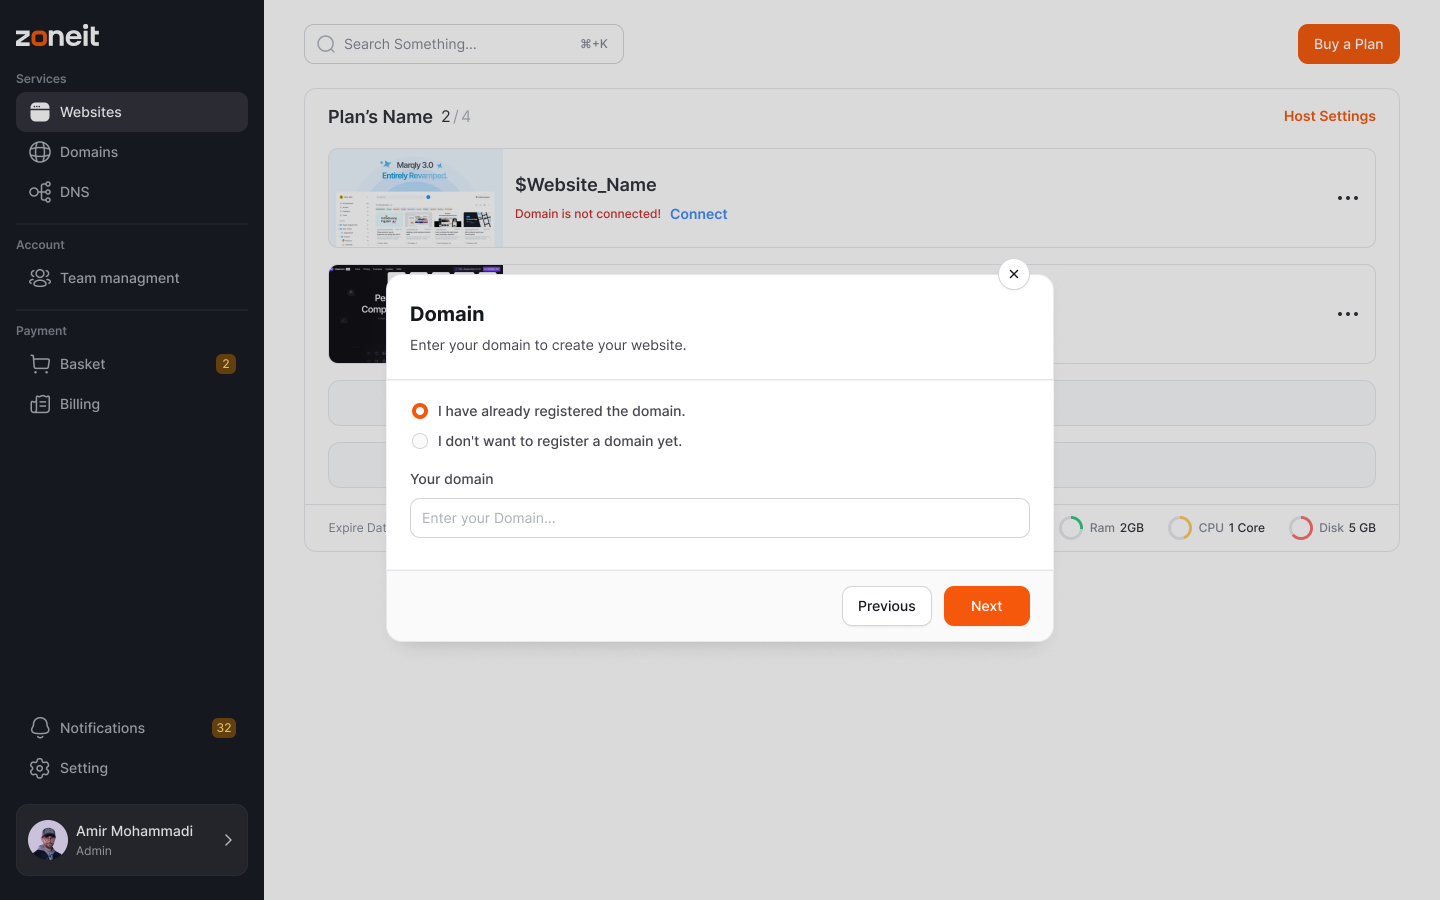
- Set Your Domain
- If you already have a domain, enter your domain name.
- If not, choose a name for your hosting, and Zoneit will provide you with a temporary domain to set up your site.
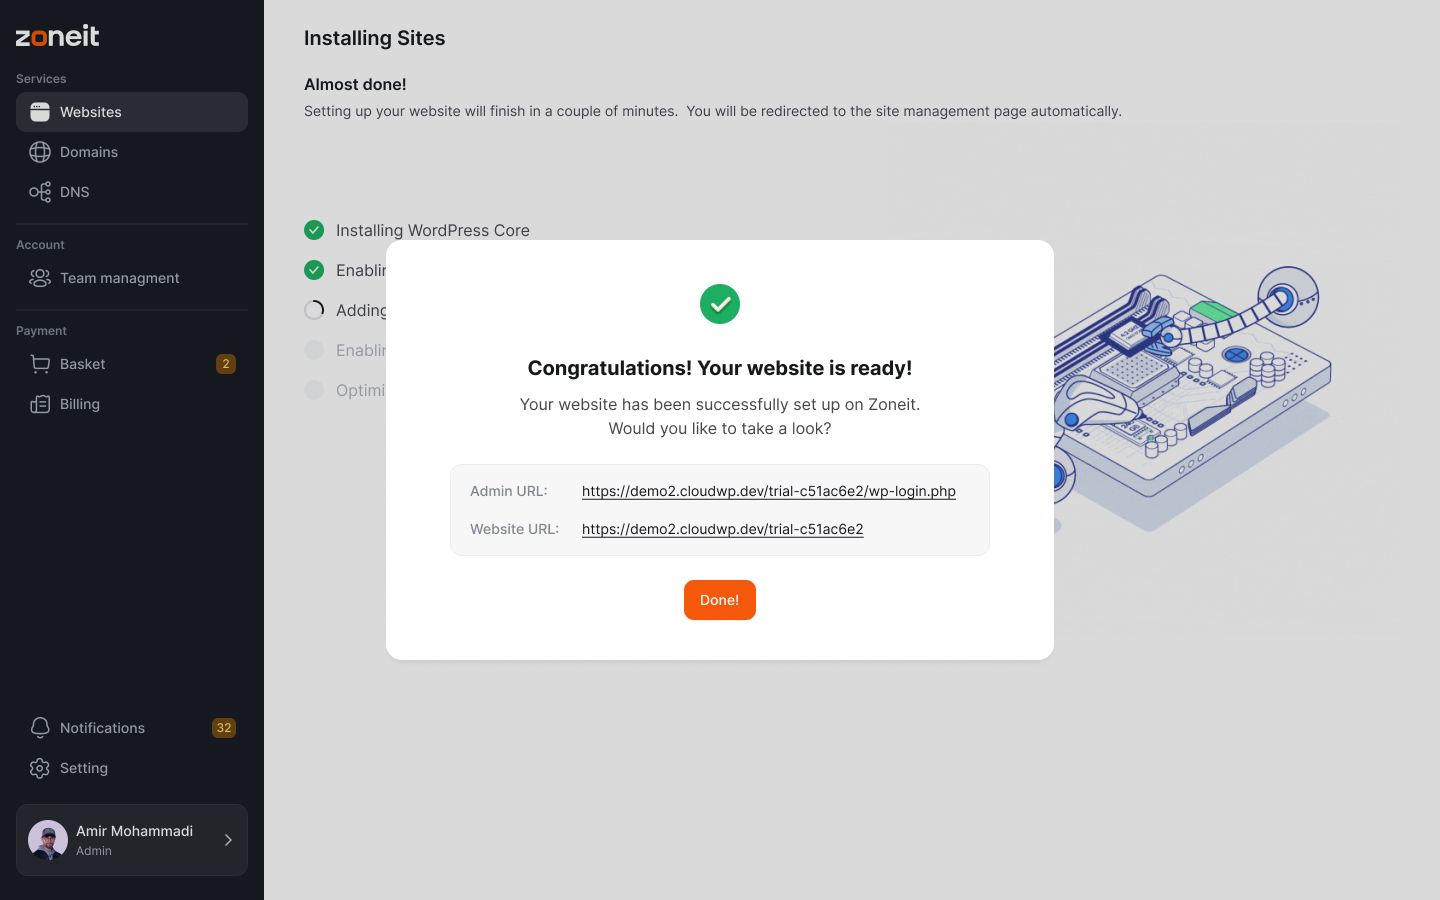
- And after choosing a site name, proceed and wait for the site creation process to complete. Within a few minutes, your site will be accessible.
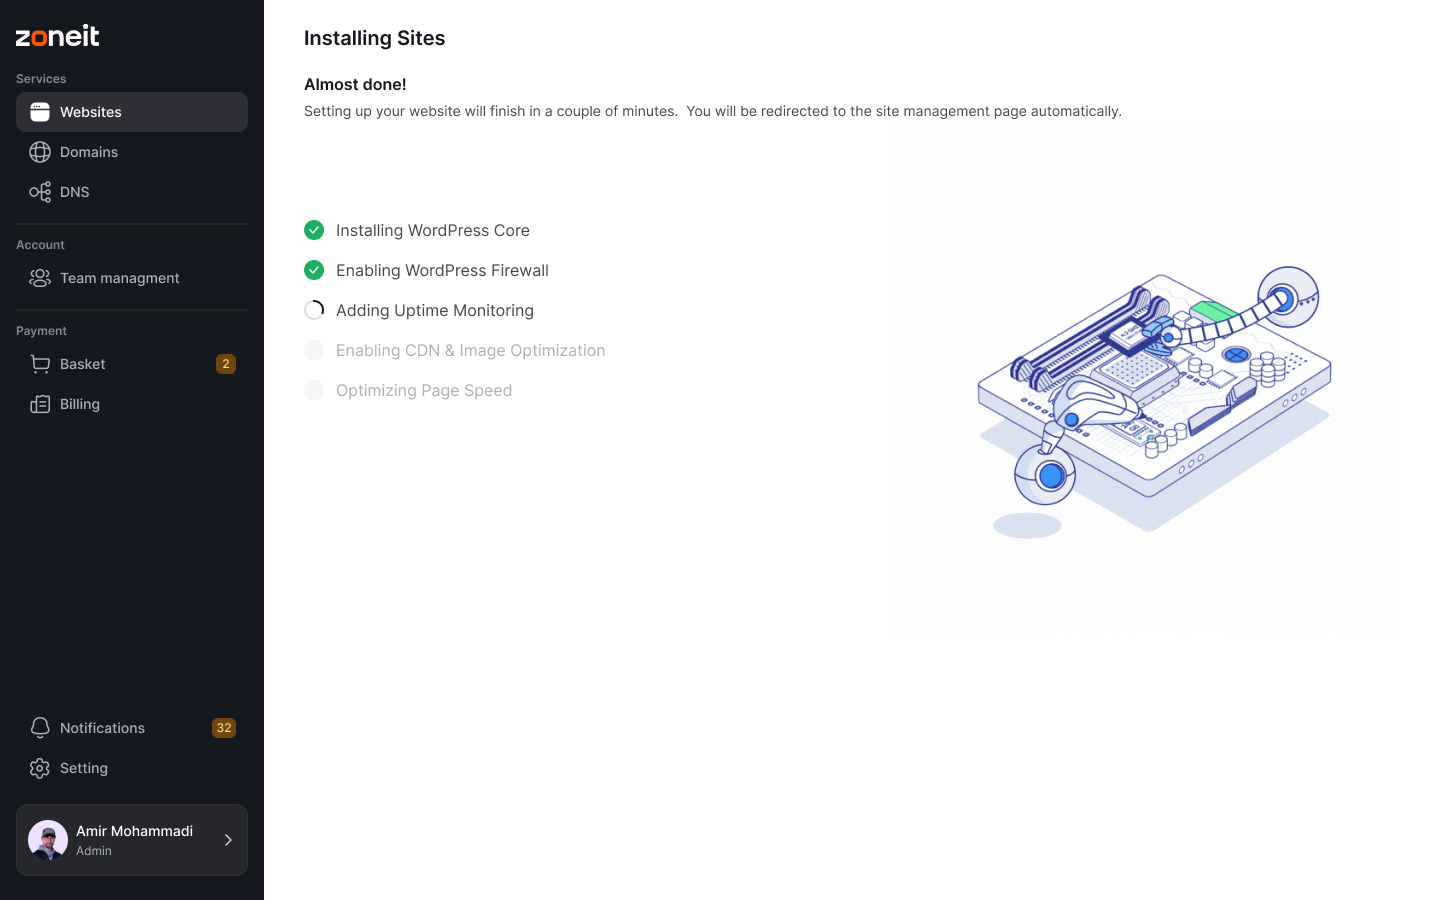
- Your website has been successfully set up on Zoneit.